Handmade ceramic smoking pipes are a popular item among smokers who prefer a more traditional and artistic approach to their smoking experience. These pipes are crafted by skilled artisans who use a combination of traditional techniques and modern tools to create unique and functional smoking pipes. In this article, we will explore the process of making handmade ceramic smoking pipes.

Step 1: Preparation
The first step in making a handmade ceramic smoking pipe is to gather all the necessary materials and tools. The materials required for making a ceramic smoking pipe include clay, water, glaze, and a kiln. The tools required include a pottery wheel, a kiln, a kiln shelf, a rolling pin, and carving tools.
Step 2: Shaping
Once the materials and tools have been gathered, the next step is to shape the pipe. The artisan starts by kneading the clay to make it pliable and easy to work with. The artisan then takes a small amount of clay and places it on the pottery wheel. Using their hands and the wheel, they shape the clay into the desired shape of the pipe. The artisan carefully shapes the bowl and the stem, taking care to ensure that the walls of the pipe are of even thickness and the bowl is symmetrical. Once the shape of the pipe has been achieved, the artisan removes it from the wheel and sets it aside to dry.
Step 3: Carving and Detailing
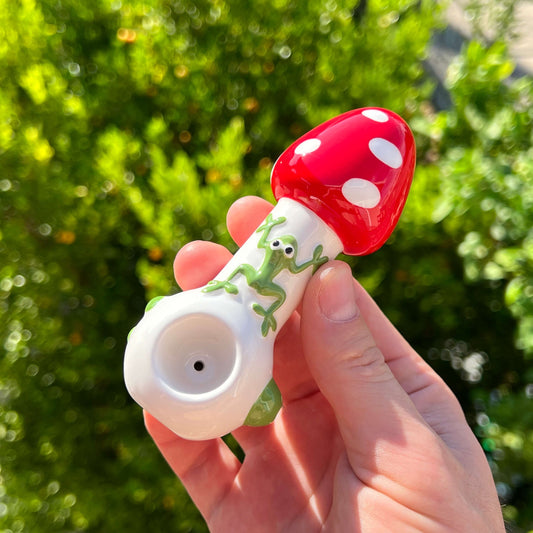
After the pipe has dried, the artisan then adds any necessary details to the pipe. This can include carving patterns or designs into the surface of the pipe or adding decorative elements like flowers or animals. The artisan may also add a signature or logo to the pipe to mark it as their own creation.
Step 4: Firing
Once the pipe has been shaped and decorated, it is then fired in a kiln. The firing process involves heating the pipe at a high temperature to harden the clay and remove any excess moisture. This firing process can take several hours to complete, and the temperature must be carefully controlled to prevent the pipe from cracking or breaking.
Step 5: Glazing
After the pipe has been fired and cooled, the next step is to apply glaze to the surface of the pipe. The glaze adds color and a protective coating to the pipe, making it more durable and resistant to damage. The artisan applies the glaze using a brush or spray gun and then fires the pipe again to set the glaze.
Step 6: Finishing
Once the pipe has been glazed and fired a second time, it is then ready for finishing. The artisan may add any final touches, like polishing the surface of the pipe or adding a mouthpiece. The finished pipe is then ready to be sold or used.
In conclusion, handmade ceramic smoking pipes are a beautiful and functional alternative to mass-produced pipes. The process of making these pipes involves a combination of traditional techniques and modern tools, resulting in a unique and personalized smoking experience. With a skilled artisan's expertise and attention to detail, each handmade ceramic smoking pipe is a true work of art.